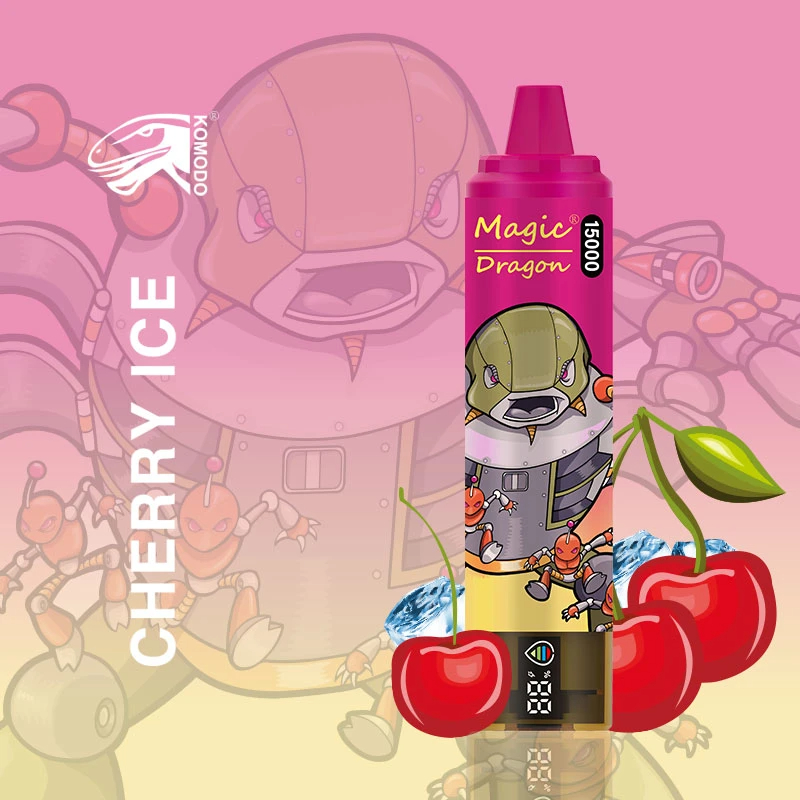
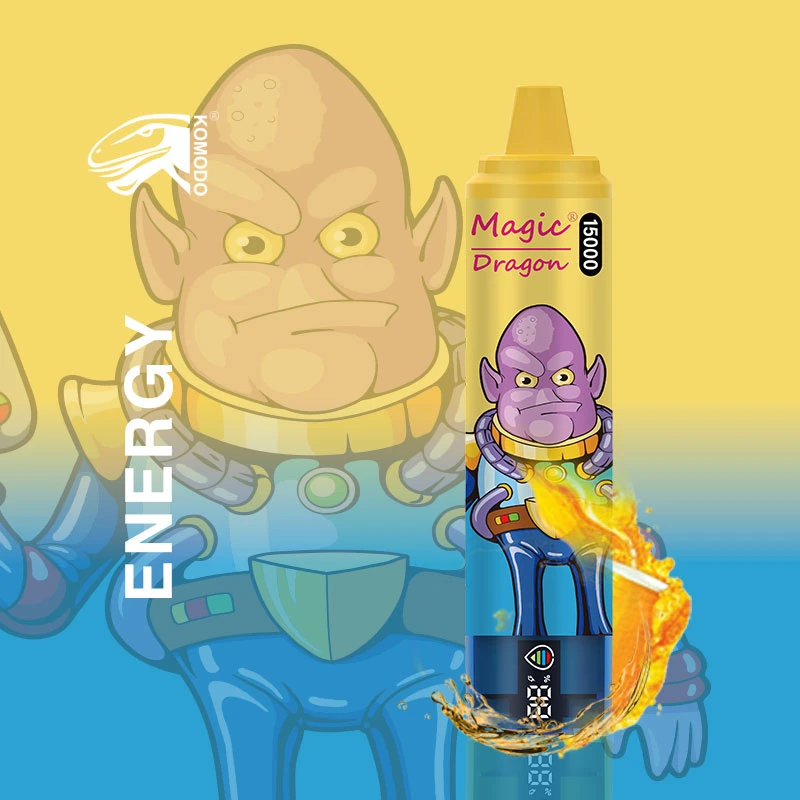
About the Komodo Magic Dragon 9000 PRO Disposable Vape
In the world of vaping, innovation reigns supreme, and the Komodo Magic Dragon 9000 PRO Disposable Vape Device stands tall as a pinnacle of excellence. Offering a blend of exceptional performance, convenience, and style, this device promises a truly satisfying vaping experience like no other.
Exceptional Features of the Magic Dragon 9000 Pro:
Extended Puff Count: With an impressive industry-leading capacity of 9000 puffs, the Komodo Magic Dragon ensures a long-lasting and fulfilling vaping experience.
Key Specifications: The device features a rechargeable 650mAh battery with a rapid Type-C port charging, coupled with a prefilled 18ml pod and 0/2%/5% nicotine content for a personalized experience.
Premium Flavor Profile: Each puff from the Magic Dragon is a burst of delicious flavor, with a range of meticulously crafted e-liquid blends to cater to every taste preference—from fruity pleasures to soothing menthol sensations.
User-Friendly Design: The sleek and ergonomic design of the Magic Dragon makes it easy to handle and enjoy, featuring a draw-activated system for seamless operation without any buttons.
No Maintenance Required: With a remarkable 9000 puffs capacity, there’s no need for refilling. Simply enjoy the experience and responsibly dispose of the Magic Dragon when finished.
Compact and Portable: Designed for ultimate convenience on-the-go, the Komodo Magic Dragon can be easily carried in your pocket or bag, guaranteeing premium vaping wherever you may roam.
High-Quality Construction: Crafted meticulously for reliability and leak-free performance, the Komodo Magic Dragon promises a top-tier vaping experience.
An Array of Delicious Flavors:
Watermelon
Blue Razz Kush
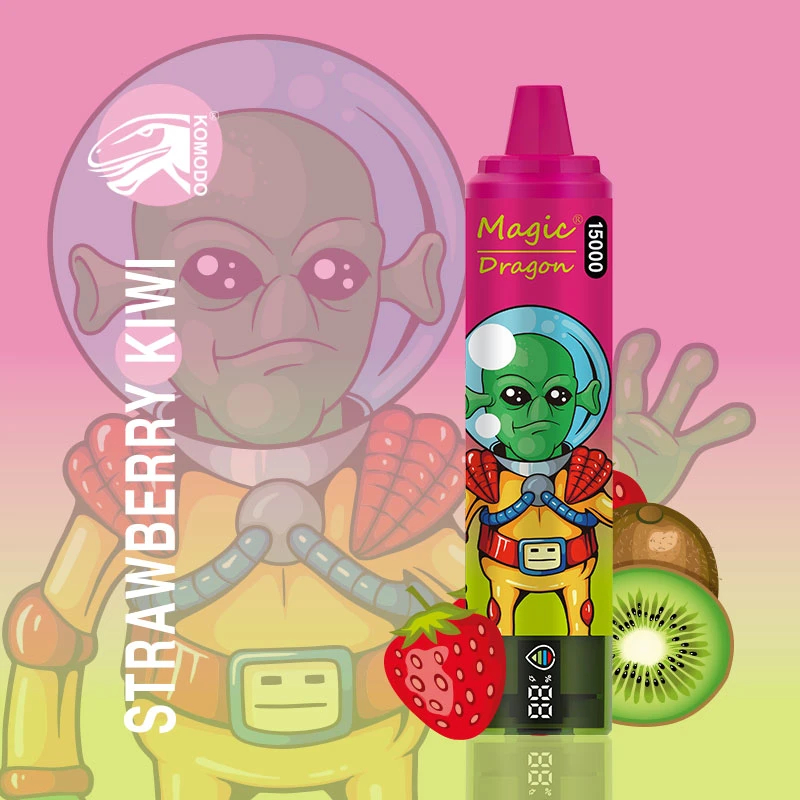
Strawberry Kiwi
Mad Blue
Peach Ice
Grape Ice
Strawberry Ice Cream
Strawberry Ice
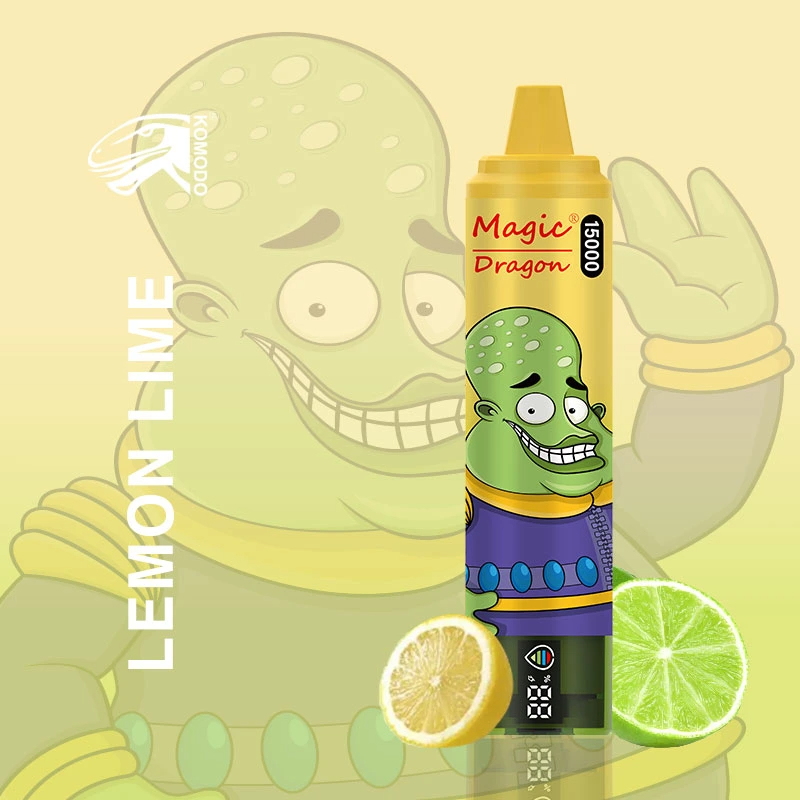
Lemon Lime
Banana Ice
Cool Mint
Mix Berries
Blueberry Raspberry
Cherry Ice
Blueberry Ice
Embark on a flavor-filled journey with the Komodo Magic Dragon 9000 puffs and savor the richness of each puff.